


Tips: Get the most out of DoodleBoard

“Easy” is a core value of DoodleBoard: You shouldn’t need an instruction manual to enjoy our app (or to enjoy VR in general!). So we made DoodleBoard lightweight. To wit, DoodleBoard can be navigated with just one button.
But that doesn’t mean we can’t include advanced features and other ideas. Here’s five of our favorites (and two bonuses!):
No-look relocation
Fine-tuning your height
Better handwriting
(Bonus!)
Set an agenda
Vanity URLs for faster meeting launch
(Bonus #2!)
No-look relocation
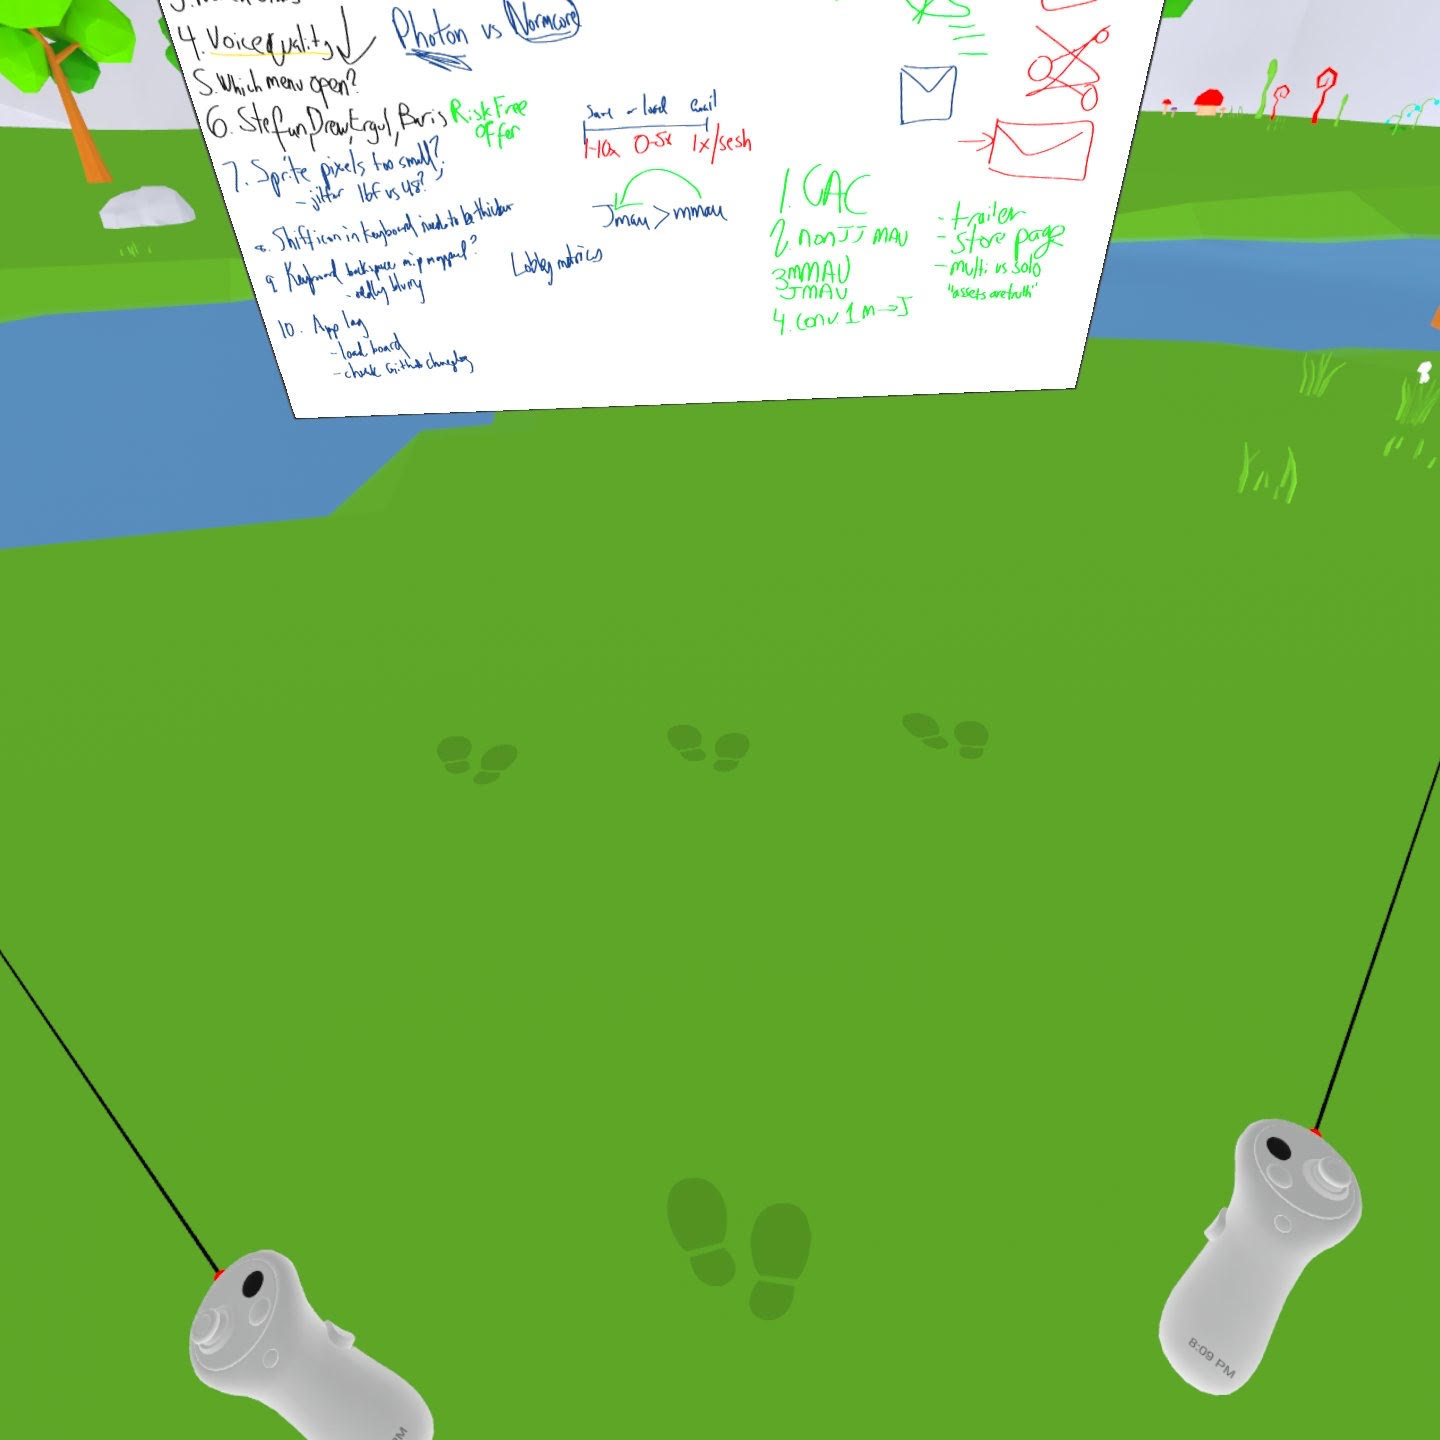
You can move to any of our four footstool buttons without looking. Try it!
Many VR apps rely on Teleportation to move your avatar: Push a button on your controller, aim your cursor with precision, teleport. You could move to any location on the map, so it’s important to look before you leap.
In DoodleBoard, we’ve placed just 4 hotspots:
But we built the active areas much wider than the icons themselves, roughly like so:
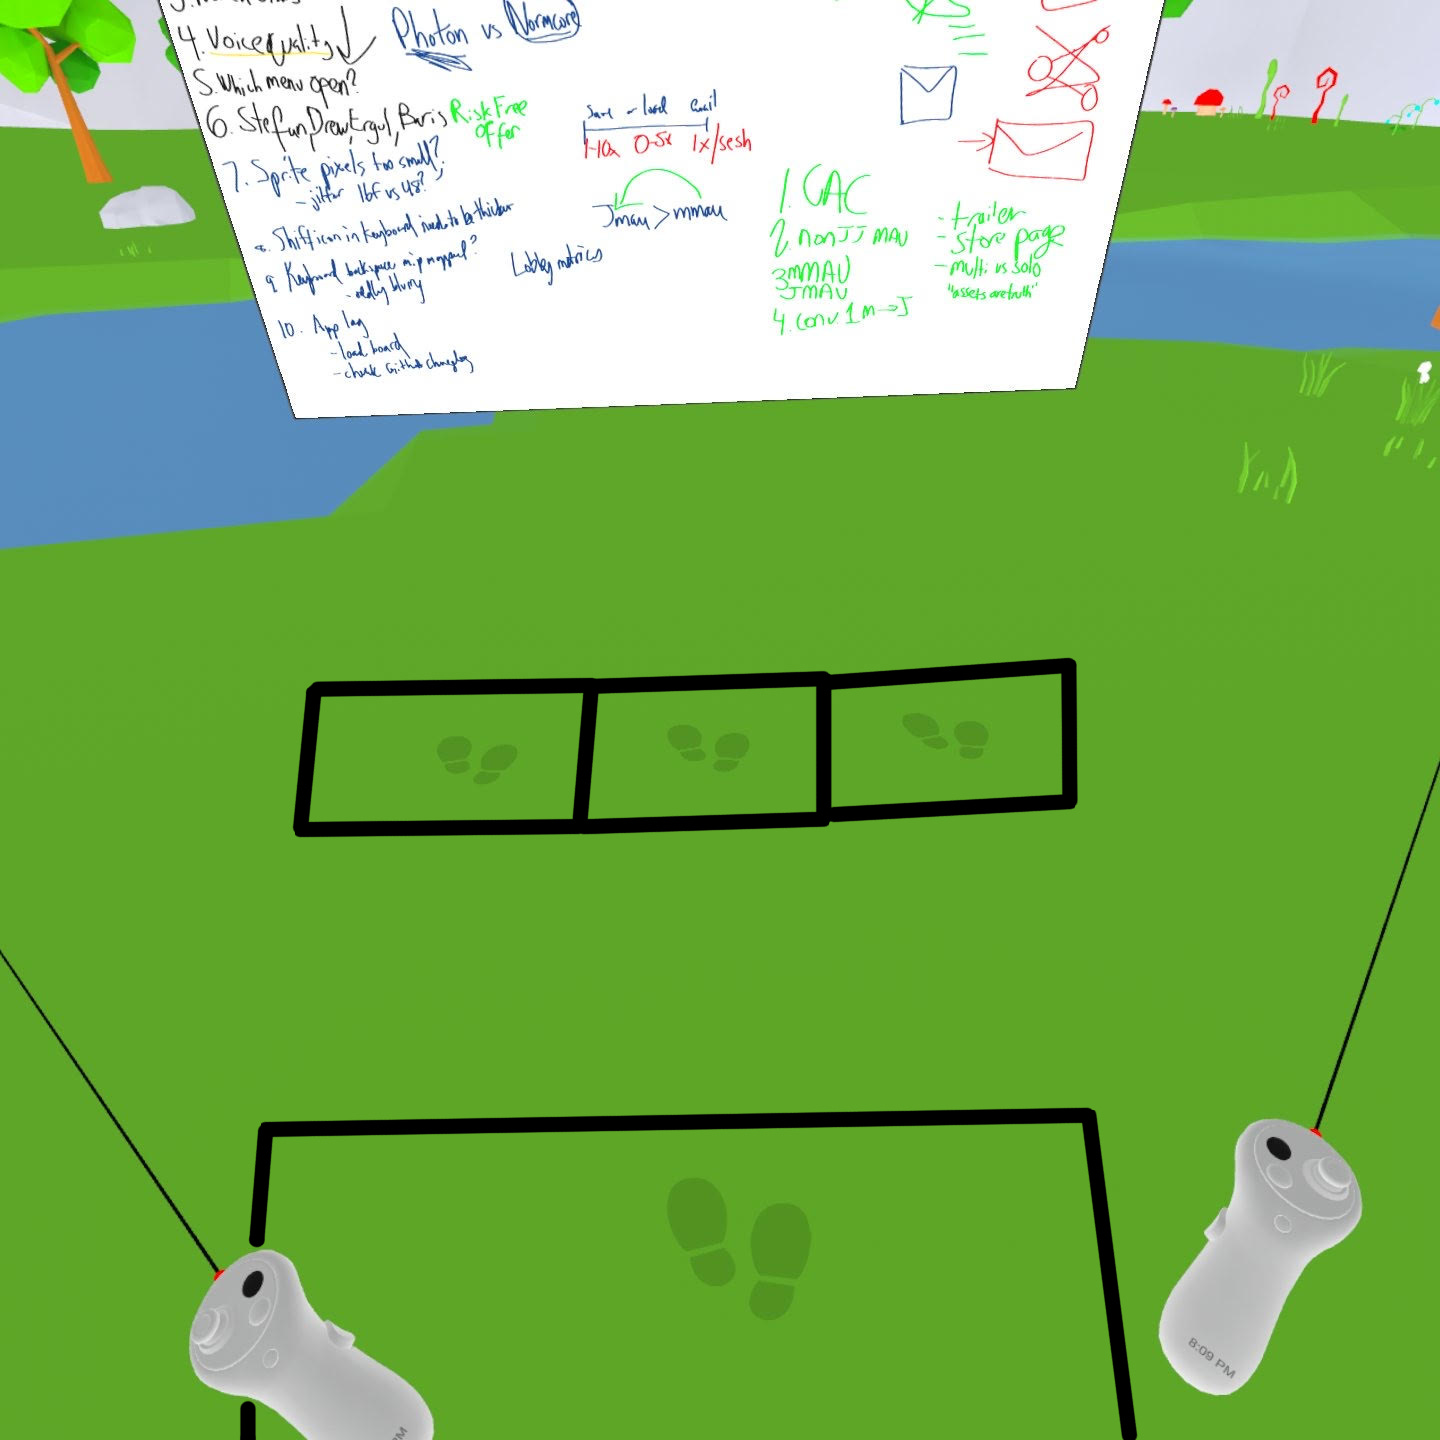
These generous affordances have a huge benefit: If you want to move to the left, center, or right of the board, or to the zoomed out position, just aim your laser in the area and click. You’ll hit your target ~100% of the time, and you’ll intuit your precise ground coordinates every time as well.
Your focus in a DoodleBoard session should be on your ideas — or, on the board or on your counterpart, as proxies. Moving around the room shouldn’t tax your attention.
Fine-tuning your height
Hold down the grip button (that’s the one by your middle finger on either hand!) and move your controller up or down to adjust your height.
We used lasers as our interface in DoodleBoard so that all corners of the board would be reachable no matter your height, or whether you’re standing or seated. But sometimes the farther corner is still annoying to reach: Maybe you crouch or stand out of your chair, or you let your accuracy & legibility slightly suffer.
Using the (hidden) grip action makes reaching the far corners a cinch.
Better handwriting
For better handwriting, stand closer to the board.

Many DoodleBoard and VR newbies share the same first reaction: “oh, my handwriting is awful!” (even, “I’m so embarrassed!”)
Handwriting in VR is a big challenge known in many apps. It’s difficult because drawing in midair without haptic feedback is unnatural for someone accustomed to drawing on paper on a tabletop.
Regular users’ handwriting improves with practice. But you can improve your handwriting next session by simply standing closer to the board before starting your stroke.
Bonus!
Using the grip button lets you fine-tune your proximity to the board, not just your height. Get close up!
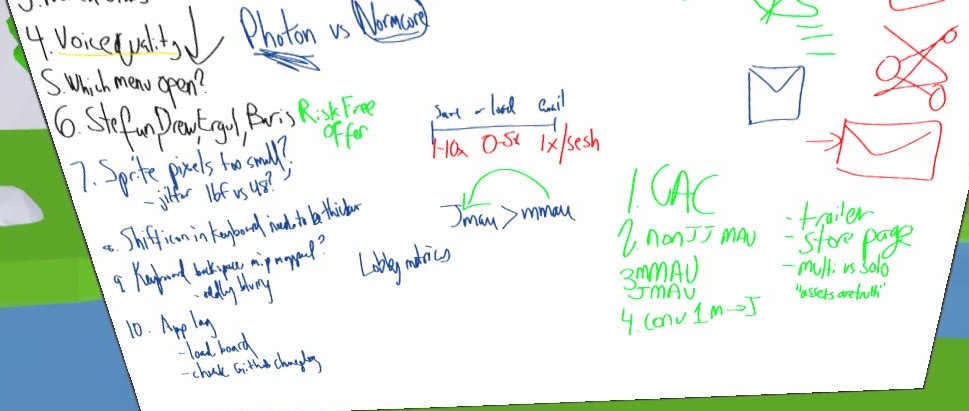
Set an agenda
If you’re using DoodleBoard for work, use the left side of the board to outline your agenda. Or even: You and your counterpart should each take a side of the board to list your agendas, then step back to compare notes.
Agenda-setting is a best practice for meetings in general. Agendas tell attendees what to expect and make it obvious when folks have different expectations. They ensure an effective pace — you get uneasy when you’re 50% through the call but only 25% through the topic list.
But they can be especially effective in DoodleBoard, where the board is easily legible & modifiable for all meeting attendees.
Vanity URLs for faster meeting launch
We use bit.ly/launchdoodleboard.
You can too!
Specifically, we set it as the “meeting location” in Google Calendar and Outlook, replacing the Hangouts or Zoom links that are commonly placed there for remote meetings.
This expedites getting your meeting ready: You can preemptively and remotely warm up your hardware while you transition from desktop mode to headset mode, instead of first waiting to get your headset in action. When meetings have precise start times, every bit of friction counts!
Bonus: Quick Saves, Quick Screenshots, Quick Videoshots
Email Export makes DoodleBoard the fastest place in VR for getting content out of the app and into your inbox. It works great when you want to save your board for later.
Our save button works with one click for saving your board to your headset.
But two Meta-built shortcuts also come in handy:
Take Screenshot: Hold the Meta button on your right controller for ~1s and click the trigger to quickly capture your whole view
Start Recording: Hold the Meta button and then hold the trigger button to start recording a video
These combined give you the best, fastest, and most flexible options to save what matters.